BMPCC 6K + Canon EF-S 17-55mm f2.8 IS USM

This was my very first shoot with the Blackmagic Pocket Cinema Camera 6K (BMPCC6K). Though I was filming with a minimal setup, or run-and-gun I suppose, handling and manually pulling focus was not an easy task, especially with a large external battery. It’s a far cry from being a pocket camera, but you do get a lot of bang in such a small setup. I’ll have to equip it on baseplate and rod so follow focus can be attached, which will make the setup a bit taller and heavier.

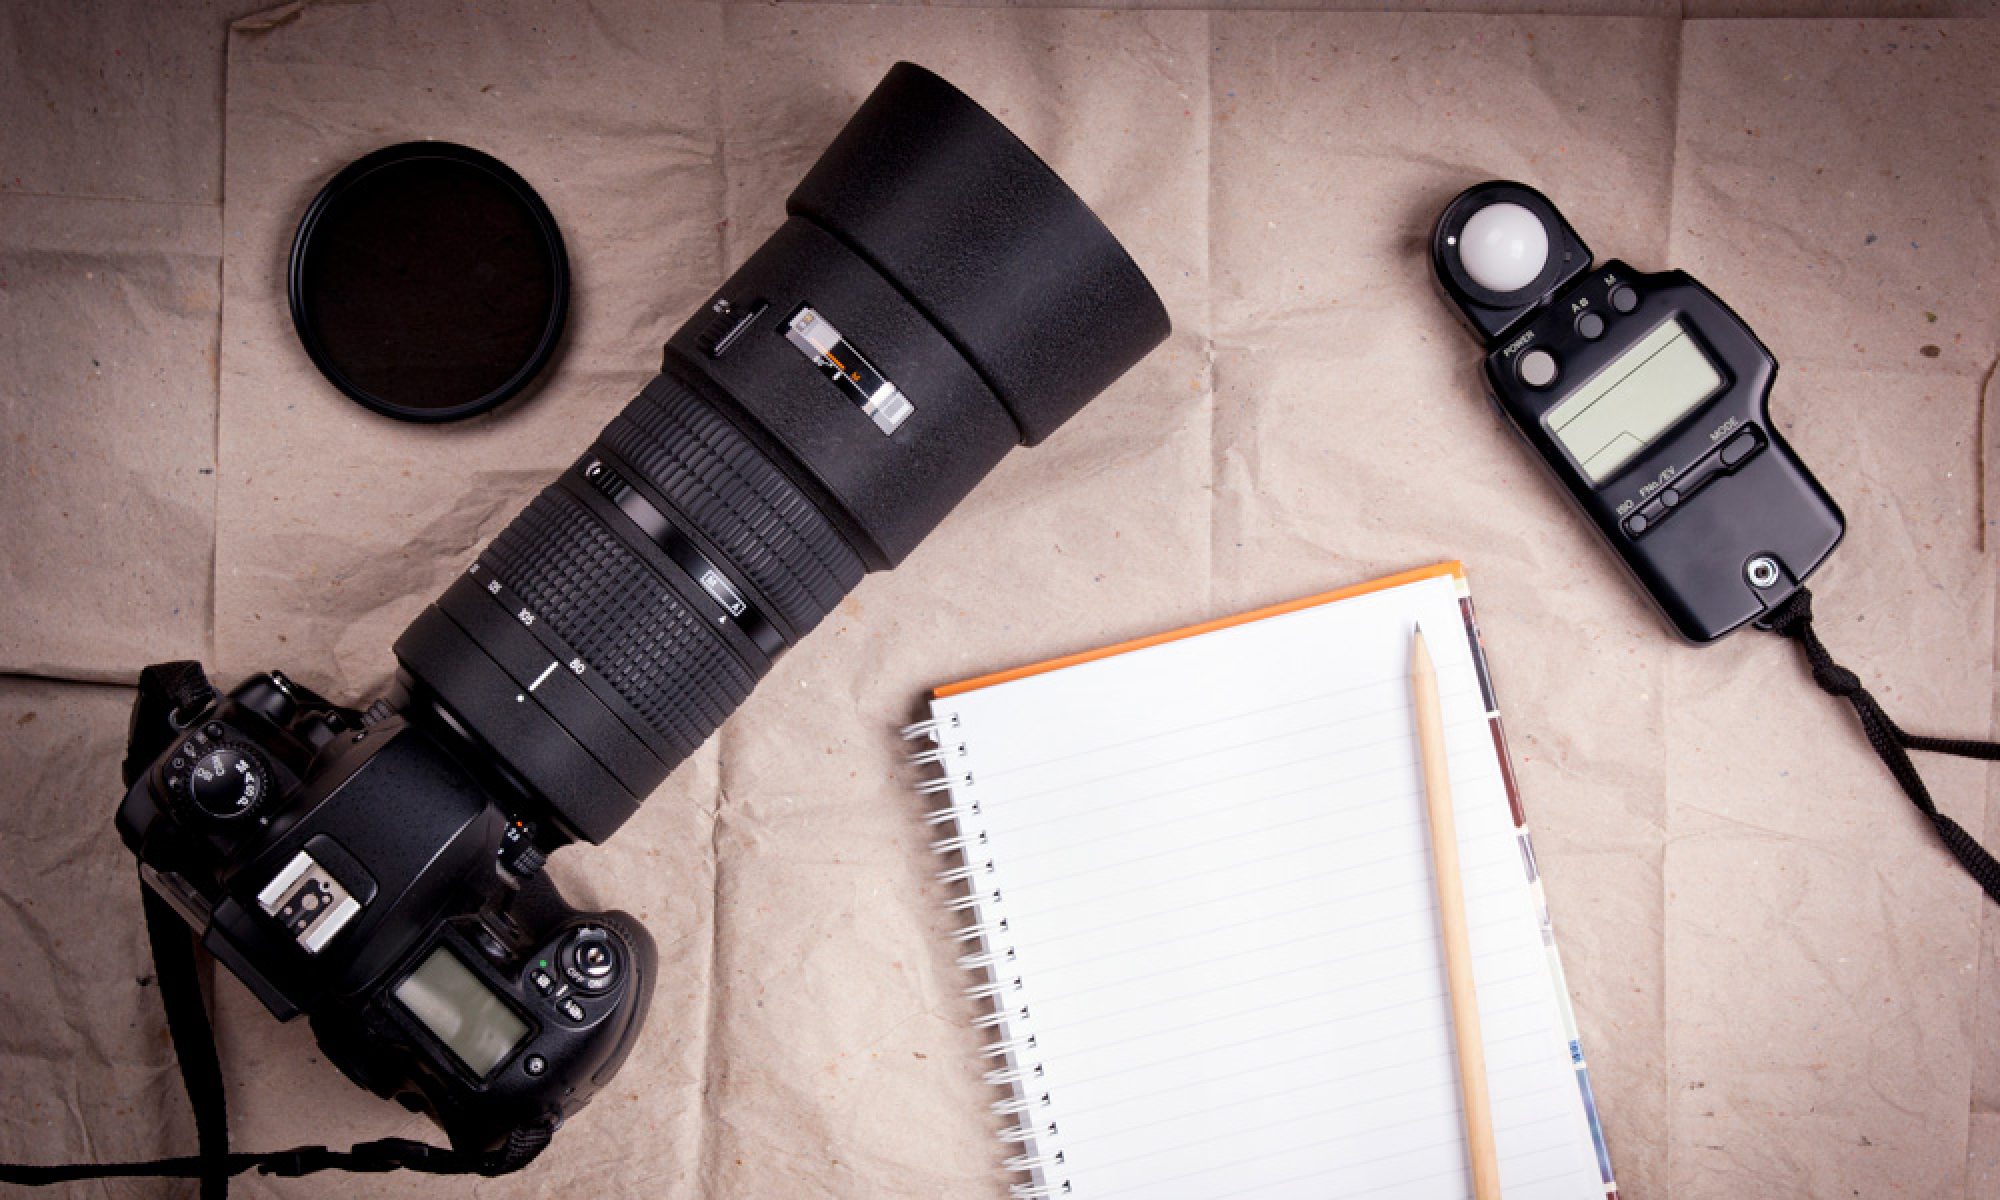
Canon EF-S 17-55mm f2.8 IS USM was the choice for this one because of its stabilization and range. The lens was not sharp at 2.8, but I stuck with it to understand its capability. Next time I’ll bring it down to 3 or little lower. The zoom dial can be stiff at times for some odd reason at steep up or down angles. Oh, also used PolarPro QuartzLine 82mm CP Camera Filter (Circular Polarizer Filter) for sky and water enhancements. One thing to keep in mind when using any filter is you’ll lose some light and may even introduce distortion.

The recording was in 6K Blackmagic RAW, 5:1 ratio, 50 fps. I’m still learning DaVinci Resolve 17 (coming from Adobe Premier Pro), and really liking it. Color grading looks super intuitive and yet intimidating because of additional unfamiliar options. For this output, I just stuck with Blackmagic Film Rec709 Lut.

I have been collecting many lenses, including some Rokinon, which I cannot wait to test out soon.

Check out ClearLooks Amazon Storefront for recommended products and reviews.

Why Is 4k Cropped Video Recording a Pain in the Butt?

Canon RP 4k Video Crop Factor illustration by Canon

A friend asked me to recommend a compact digital camera that can used for regular photoshoots, vlogging and video calls. In response, I asked him how he felt about cropped 4k recording. He’s a very tech-savvy person so I knew that would matter to him had he learned about the camera’s limitation during use. He did not answer back immediately, which is exactly what I expected. The whole crop-factor business can be confusing because it’s never straightforward.

I’m not going to spend time on explaining the difference between cropped and full-frame censor cameras, as the internet is already full of such content. What I do want to address here is the fact that people who buy a compact full-frame camera don’t realize a hidden problem. Camera manufactures love to highlight the 4K recording capability, but hide important details in spec sheets that most don’t bother to read. 4k recording with a cropped factor can really push you back, literally.

Imagine you’re hosting your kids birthday party and have been taking lots of photos with a 35mm prime lens (can’t zoom). You then switch to video mode to record the cake cutting ceremony. Depending on the camera’s video recording options, you’ll be surprised to learn the view is zoomed in and you need to move back further to fit into the same view as the photos. Imagine a scenario where lack of space would not permit you to step back as needed. Yes, that’s why people use zoom lenses, but prime lenses do a lot better in low light conditions because lower f-stop configuration means you get a brighter, sharper and low noise image.

Sony A7c ($1,799.99 for body only), Alpha 7c Compact Full-Frame Camera, peaked my friend’s interest. He was also looking at the 20mm f1.8 G series lens, which should be a good fit for his small dark room and for vlogging or video calls. I explained to him that the 20mm lens will be like a 24mm lens if he records 4k at 30p because the camera utilizes less of the full sensor to compensate for 30p recording with a 1.2 crop factor (20mm x 1.2cp = 24mm). The camera can also record full-frame 4k at 24p, which has the film feel but I preferred 30p because panning scenes appear smoother. He agreed. Sony A7c’s 1.2x crop factor is not bad actually.

On the other hand, had he considered Canon EOS RP ($999.99 for body only), albeit about 20 months older and $800 cheaper as of 1/21, he would’ve had a crop factor of 1.76x at 25p for 4k recording. Ouch, now that would have been a real pain in the butt! That said, $800 dollars could be used to buy a lens or two.

Editing and Enhancing a Safari Photo

A client needed a Safari photo that’s royalty free and could be used for commercial purposes. Pixabay has been one of my go to places for free photos (not an ad). They have a decent collection but success of finding the right photo can be a hit or miss. You do get what you pay for right? However, with a little bit of creativity and editing, a usable photo with good subject framing can be just what you needed.

Below is the photo that caught my eye. It seemed to have a lot of potential even though the pair of elephants alone didn’t portray the Safari vibe the client wanted. By the way, do keep in mind the budget was small, which means editing and enhancements could not be complicated – time is money after all.

Two Elephants - A Wildlife Photography by woici
Photo by woici

To reduce editing time, I didn’t detract too much from the original photo. First task was to do some noise reduction on the whole photo and then some sharpening on select areas to get the details back. There were some bushes around the subjects (elephants) that were distractions and needed to go. When I think of Safari, my preconceived notion tells me the atmosphere needs to have an orange dry gritty tone. So color adjustments were done to reflect that tone.

If you look closely, the tree environment looks damaged. Thus, anything I added had to have the same appearance. A broken tree and a rustic rock did the trick. The sky looked flat but adding a faded mountains scene in the horizon gave the background some character and added some separation from the subjects. After removing some of the bushes, the right side felt empty. A distant tree was added. The quality of the tree wasn’t the best but it served its purpose as subject framing as well. Of course, no Safari photo would be complete without some birds flying in the distance.

After
Before

Please refresh the page if the slider above is not visible.

Again, to keep editing to as minimal as possible, that is all I did to enhance the simple elephants photo into a Safari adventure. Needless to say, the client was happy with the final photo. If you have any photos that you’d like me to edit, drop me a message.